Booting/Rebooting Your System
Booting powers on your computer and loads the operating system
information from a disk to the computer's memory. Each time the Amiga is booted, the system must find the Amiga
system software on a bootable hard disk or floppy disk inserted into a disk drive. If there are no bootable disks
when the system is powered on, an animated screen requests that you insert a bootable disk into a floppy drive.
Rebooting resets you computer without turning off the power.
This process terminates any active programs and erases any data stored in the Amiga's memory.
For information about booting and rebooting floppy-only systems,
see Appendix B.
Each time the Amiga is booted or rebooted, the following events
occur:
- The Amiga executes a script file called the Startup-sequence.
The Startup-sequence file contains AmigaDOS commands that load the Amiga software and handle various hardware and
software setup tasks.
- The Startup-sequence executes a script file called User-startup,
if you have created it. In general, User-startup files contain your own customized configurations, resident commands,
and directory assignments. Appendix B offer some instructions and suggestions of items that you can place in a
User-startup file.
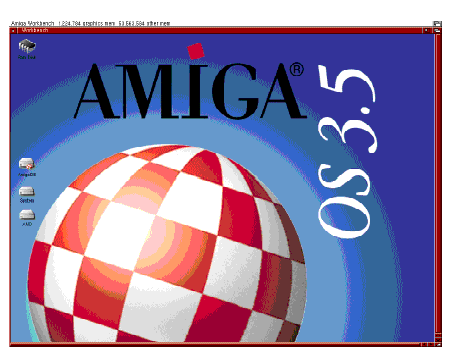
- The Amiga Workbench screen appears, as illustrated in Figure
2-1.
Figure 2-1. Workbench Screen
- Workbench runs any programs whose icons are in the WBStartup
drawer. By placing program icons in the WBStartup drawer, you can also customize your system startup.
Do not alter the Startup-sequence file, doing so can prevent
the Amiga from booting properly.
To reboot your system:
- Be sure that all disk activity has stopped and that all floppy
disk drive and hard disk drive lights are unlit.
- If you are rebooting from a floppy disk drive, insert a copy
of the Workbench disk into a floppy disk drive.
- Simultaneously hold down the Ctrl (Control), left Amiga, and
right Amiga keys and then release them.
Special Boot Options
Extra memory used for maintaining devices can prevent floppy-based
games from running. See Appendix D for information about how to avoid this problem.